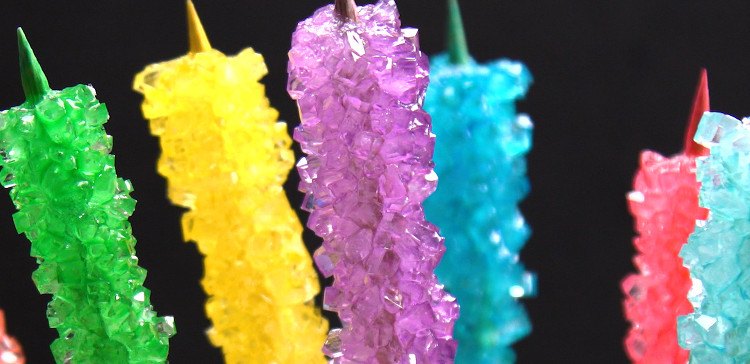

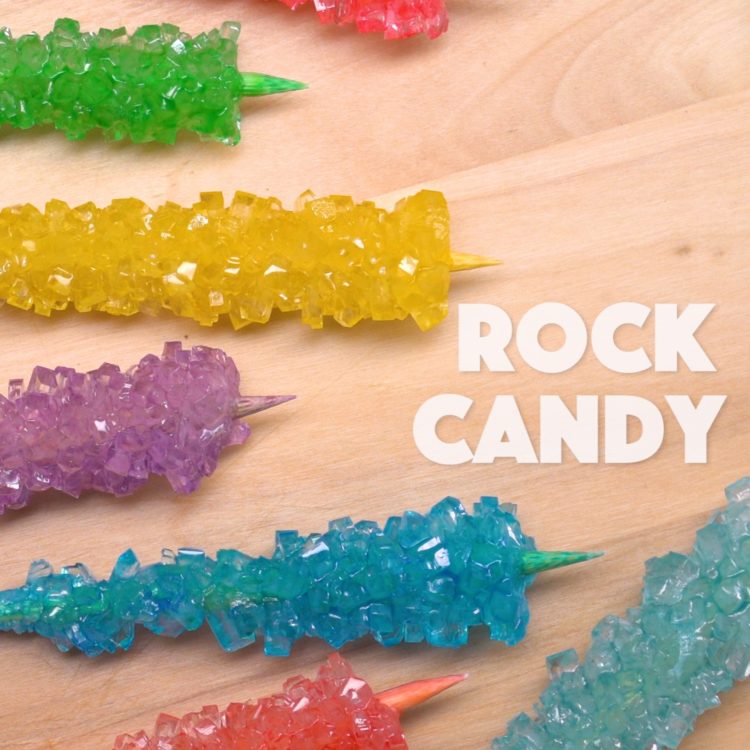
Know a budding scientist with a sweet tooth? It’s easy for you and your kids to grow a rainbow of homemade rock candy crystals — all you need is a little kitchen chemistry.
No beakers, bunsen burners, or fancy candy-making equipment necessary. Just gather sugar, water, food coloring, wooden skewers, clothespins, and a few narrow glasses (like champagne flutes). You can also make rock candy using the classic string-and-pencil method (which we’ll explain in the instructions below) but we think this skewer-and-clothespin method works a lot better; the string tends to curl up, and it’s much more fun (and less messy) to eat rock candy off a stick than a string. If you want, you can also flavor your rock candy with natural extracts: raspberry, cherry, cinnamon, lemon, orange, or peppermint would all be yummy.
 TipHero
Here’s the sweet sweet science behind rock candy: if you could look at a grain of sugar way close up, you’d see a crystal made up of three kinds of molecules: fructose, glucose, and sucrose. When you dissolve sugar in water, those molecules get pulled apart because they’re attracted to the water molecules. When you make rock candy, you mix together a whole lot of sugar and a little bit of water, so you get a solution that’s supersaturated. That means there’s more sugar than can actually dissolve in the water. Try stirring the sugar around in the cold water — no matter how much you stir, it’s not going to dissolve.
 TipHero
That’s why we cook it on the stove, because heating helps to dissolve the sugar more. The magic happens when the sugar-water starts to cool down: as the temperature decreases, the sucrose molecules start to separate back away from the water molecules and re-crystalize into sugar. (Think about the oil in a jar of peanut butter separating out and making a layer on top.)
 TipHero
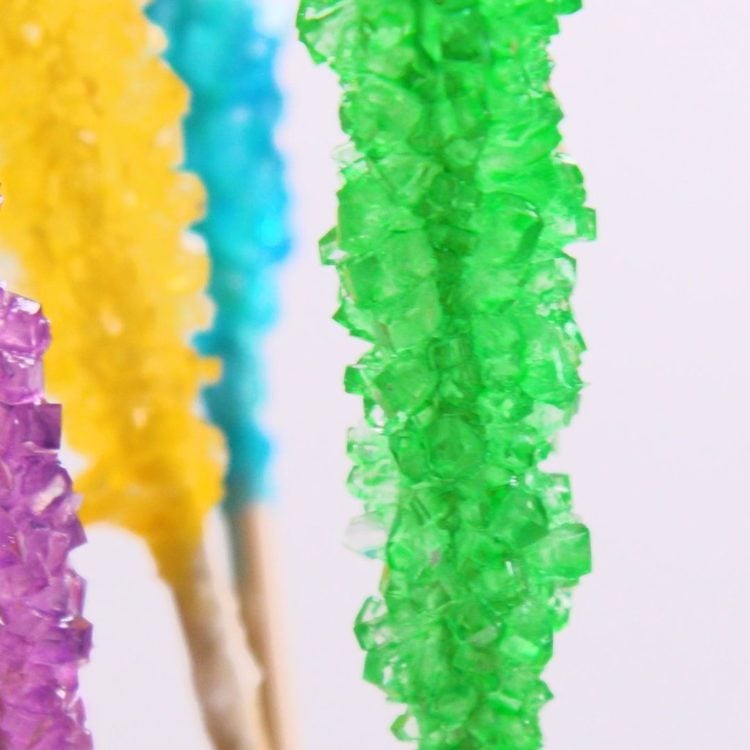
But why do the crystals grow on the skewer? When you soak it in the sugar-water and then roll it in the dry sugar, you’re giving those sucrose molecules a “seed” crystal to grow on when they separate away from the water. As the sugar-water continues to cool down, more and more sucrose molecules will grab onto to the crystal. And as days pass, some of the water is also going to evaporate out, leaving behind even more sugar. So the skewer — and the glass — will become more and more encrusted with sugar crystals. (Which is why you need to keep the skewer centered in the glass, or they will just end up getting stuck together.)
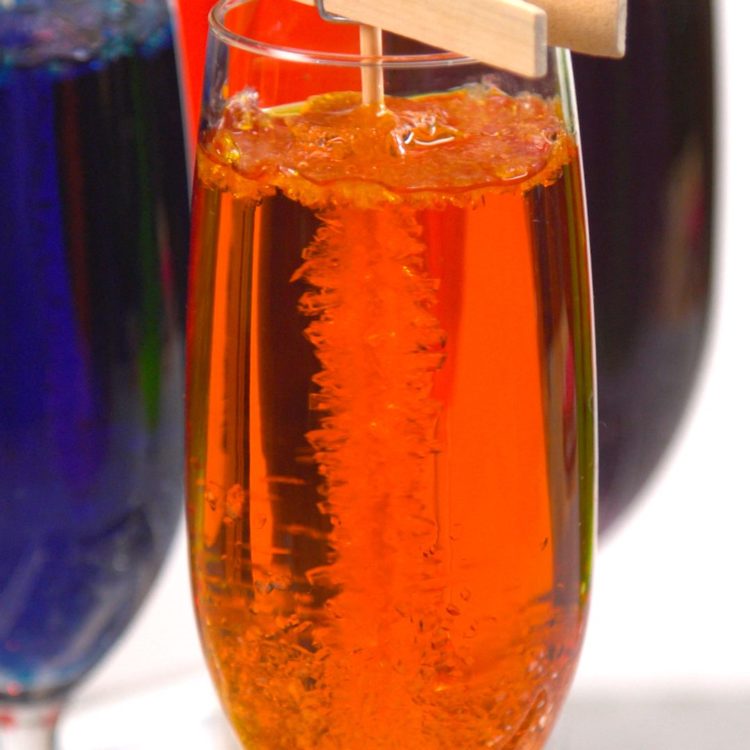 TipHero
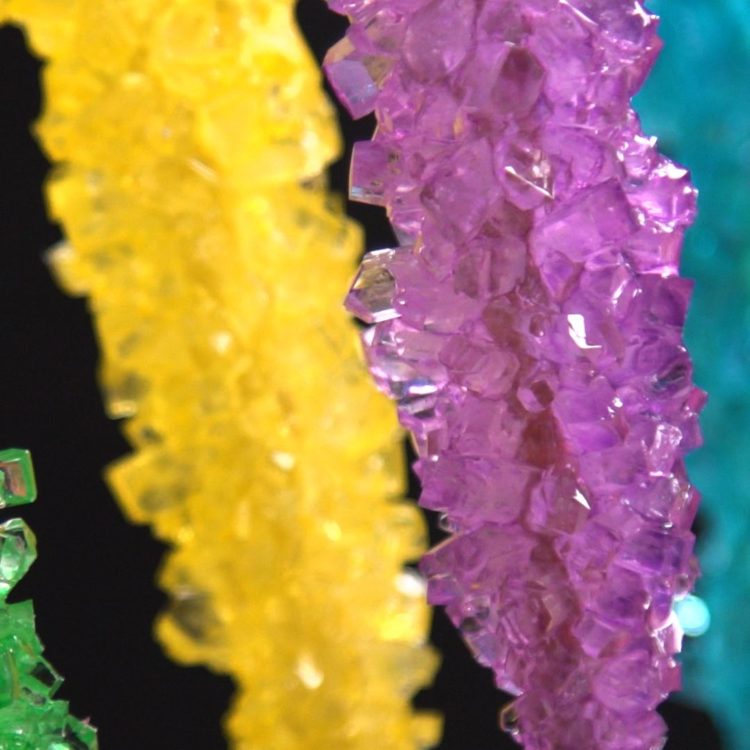
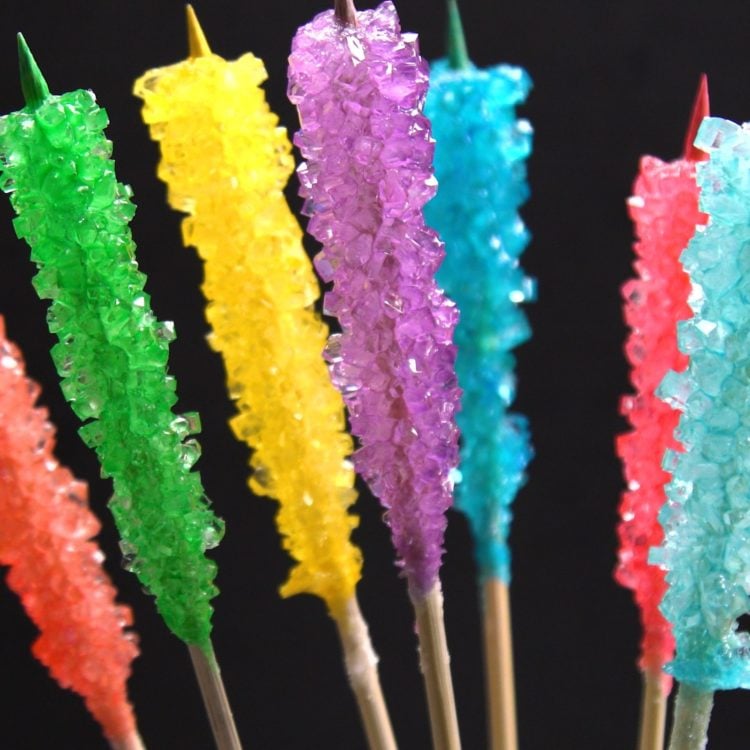
Molecule by molecule, the sugar crystals grow, until your rock candy is ready to eat. By then, it will be made up of about a quadrillion molecules! (That’s 15 zeros, you guys.)
It takes 1 – 2 weeks for your big rock candy mountain to fully form, and the waiting is definitely the hardest part. But kids will be excited to check the progress of their crystals, and could even take a photo from the same angle every day to create a time-lapse at the end. That crunchy, lickable stick of homemade rock candy will definitely be worth the wait.
 TipHero
Rock Candy
Makes 4-6 sticks of rock candy
Prep Time: 20 minutes
Total Time: 1- 2 weeks
Ingredients
- 2 cups water
- 4 cups granulated sugar + extra for dredging sticks
- food coloring
- natural flavoring (optional: raspberry, cherry, cinnamon, lemon, orange, peppermint)
Equipment
- small saucepan
- wooden spoon
- wooden skewers / swizzle sticks / string & pencil
- clothespins
- 4 – 6 clean, narrow glasses (Champagne flutes are ideal, but any glass with a narrow opening that a clothespin can rest on will work.)
Preparation
- Bring the water to a boil over medium-high heat. Slowly, add the sugar one half-cup at a time, stirring until it’s completely dissolved and the solution comes to a rolling boil. Remove from heat and cool for 20 minutes.
- Dip the wooden skewers, swizzle sticks, or string into the sugar solution, then dredge them in the extra granulated sugar, rolling them so that they’re completely covered. Set them aside until dry, 5-10 minutes. (If you use string, you will need to straighten it out before laying it flat to dry on parchment paper.)
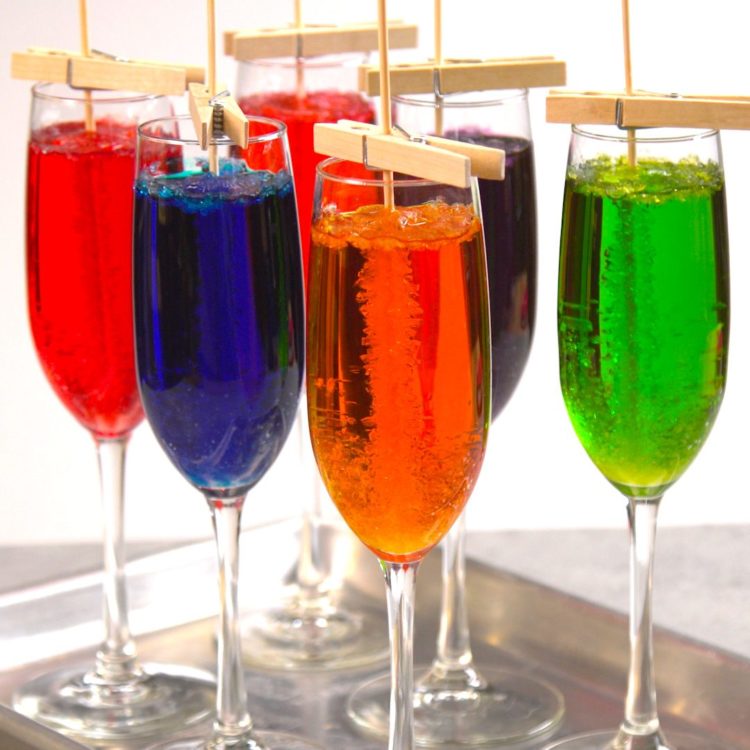
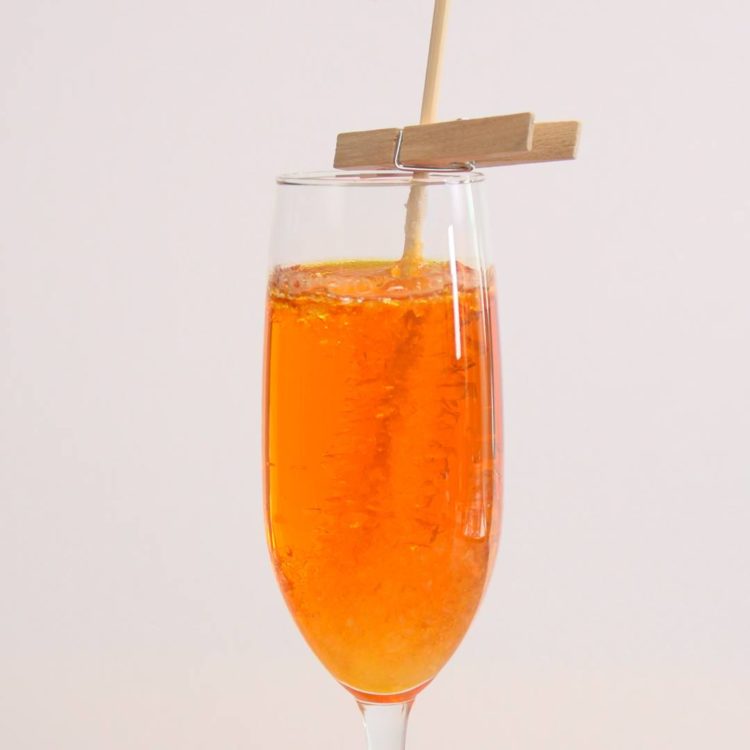
- Prepare the glasses: pour 5 – 6 drops of your desired food coloring into the bottom of each glass. If you’re using a natural flavoring extract, add a few drops at this time. Pour the cooled sugar solution over the food coloring, about three-quarters of the way up the glass. Stir to combine.
- Place the dried skewers or swizzle sticks into the center of each glass. Clip the top of each stick with a clothespin to keep it in the center of each glass and so that the tip isn’t touching the bottom of the glass (or else it will be difficult to remove.) If using string, tie the opposite end that’s not coated in sugar around a pencil, and place the string in the center of the glass. The pencil should be laid over the rim of the glass with the string hanging down.
- Place the glasses in an area where they will not be disturbed, and let them sit for 1 – 2 weeks, or until the sugar crystals have reached your desired size. (It’s important to not move the glasses while the crystals are growing, because this can cause them to fall off the stick or string.)
- Once the sugar crystals have reached your desired size, gently crack the hardened sugar from the surface of the sugar solution and remove the skewers, swizzle sticks, or string. Allow them to dry before serving.
 TipHero
Looking for more fun projects to do with your kids? Check out our recipe for homemade marshmallow playdough.
 TipHero


