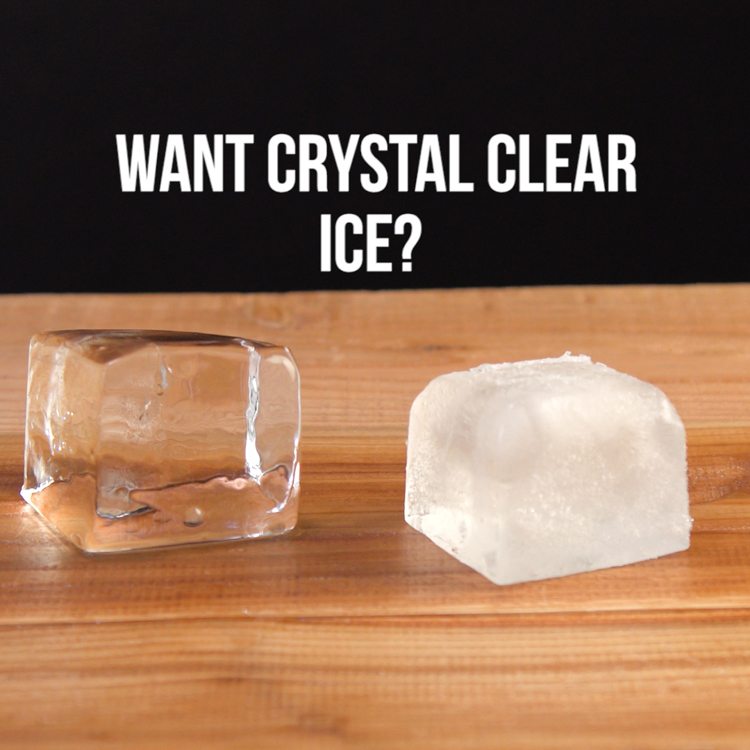
Shake up your bartending game (or stir it up, if you prefer) with a glassy rock of perfectly clear ice. Artisanal ice cubes are making a splash in the craft cocktail world — and when you try a drink with ice cubes that aren’t cloudy, the difference will be crystal clear. We’ll show you a surprisingly simple and inexpensive way to make flawless cocktail ice at home.
There are a couple of methods for making your own clear cocktail ice floating around the internet, but most aren’t worth your time. Here are some we aren’t crazy about:
- Using filtered water instead of tap water: the results are just tepid.
- Slow freezing (where you turn your freezer temperature up to the highest possible setting): it works, but you’ll have to sacrifice your ice cream.
- Double-boiling the water: this gives you ice that’s about 85% clear, so it’s actually a good quick option — unless you’re a perfectionist like us.
And if you have a few hundred dollars to blow on ice, there’s always the option of treating yourself to an expensive ice machine.
 TipHero
The best way to get 100% crystal clear ice at home is with directional freezing, a method originally developed by mixologist Camper English. All you need is filtered water, the kind of small plastic insulated cooler that you usually take camping, and some freezer space.
 TipHero
Here’s why it works: it’s not that your tap water is dirty — all water, even that from a pristine alpine spring, contains dissolved air (you know, that pesky O in H2O). Boiling water releases some of the air (even more when you boil it twice), but you can’t get rid of it all. As ice freezes, it pushes those tiny bubbles and impurities out — so if you could get ice to freeze in one direction, it would push all of the cloudiness to one spot which you could easily remove. That’s just what freezing water inside a cooler with insulated sides and the top left open does; it forces the ice to freeze from the top down.
 TipHero
In normal ice, cloudiness forms when it freezes completely — because everything that was getting pushed out eventually gets trapped in the ice as it reaches the end of the freezing process. But when you freeze ice directionally in the cooler, and don’t let it freeze all the way (this is key), you can just chip off that partially-frozen layer of ice where all the cloudy junk is hanging out. And voilà — you’re holding in your hands a block of flawless, crystal clear ice ready to be chipped into cubes of all sizes.
We know what you’re thinking: “I’m no hipster, why would I go to this kind of effort for ice?” All snobbery aside, premium ice doesn’t just make a cooler cocktail, it actually makes a better tasting cocktail. That’s because normal cloudy ice cubes are weak (all those air bubbles), so they melt quickly and you end up with a watery drink. If you’re going to serve a cocktail with ice, it’s better to use one solid rock that melts more slowly and doesn’t overly dilute your drink.
 TipHero
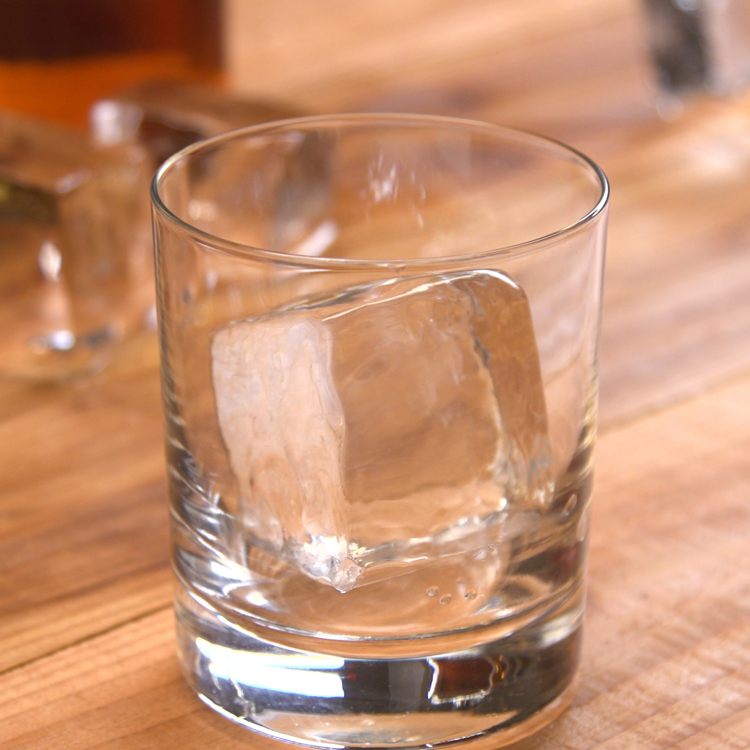
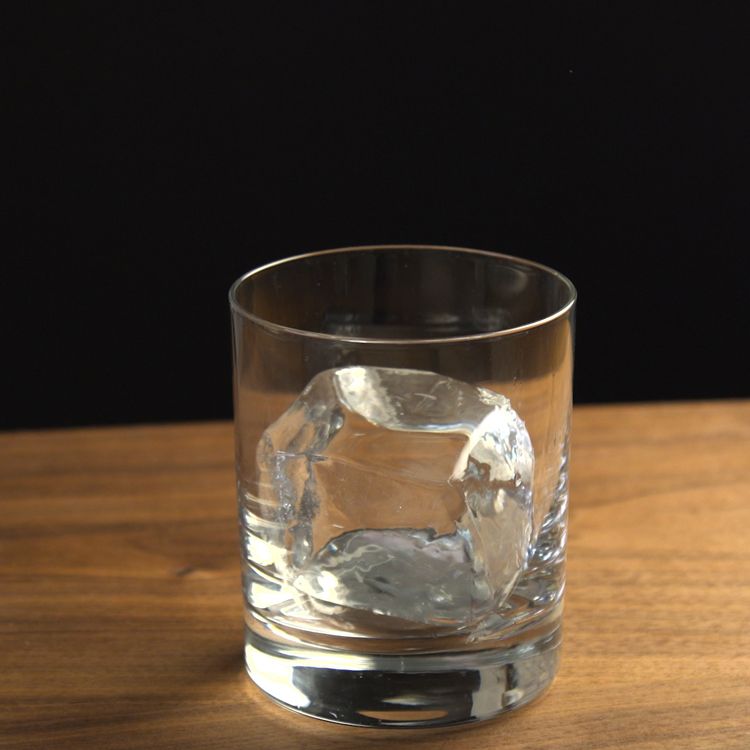
Now what are you going to do with all that immaculate ice? The large “king cubes” are the perfect complement to a top-shelf spirit, or for chilling a strong sipping drink like an old fashioned or negroni. Tall sticks pair well with cocktails served in a Collins glass, like a highball or gin fizz, but those ideas are just the tip of the iceberg.
 TipHero
Crystal Clear Cocktail Ice
Makes about 16 large cubes
Active Time: 20 minutes
Freezing Time: 24 hours
Equipment
- 9-quart hard-sided insulated plastic cooler
- 2 gallons filtered water
- long serrated knife
- mallet
Directions
- Pour the filtered water into the insulated cooler.
- Leaving the cover open, freeze the cooler in your freezer for 24 hours. (Don’t leave it in the freezer for longer than this, because you don’t want the ice block to freeze all the the way through.)
- Remove the cooler from the freezer. Place a cutting board in your sink to catch the ice block, then turn the cooler upside-down over the sink to release ice.
- Under hot running water, use the knife to chip off the partially-frozen layer of ice, leaving only the clear layer of ice. Smooth out any jagged edges under the running water.
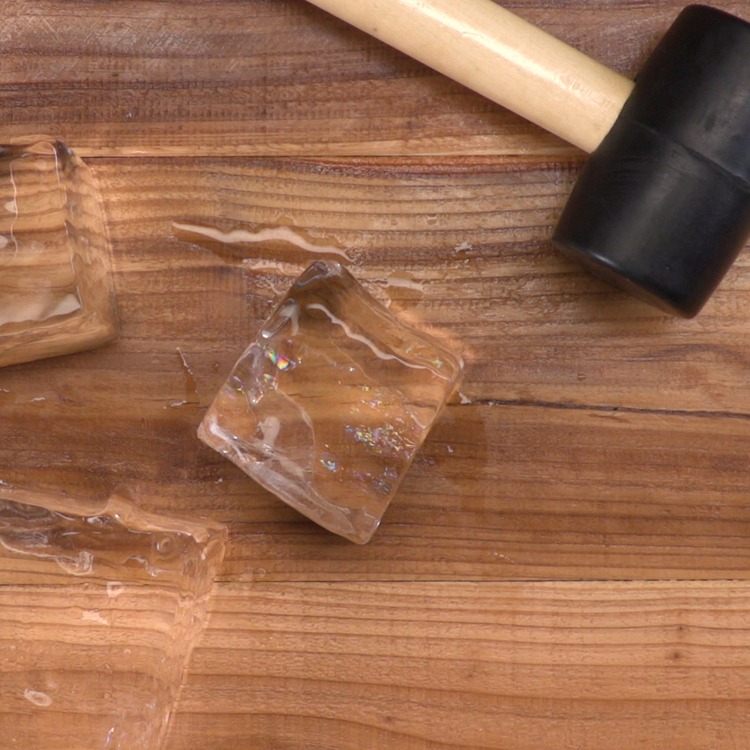
- Place the ice block on a cutting board. Score it about 1 – 2 centimeters deep with the serrated knife, then gently strike the knife with the mallet to break the ice off in a clean block. Use the same procedure to break that ice into your desired size and shape.
- Use the ice cubes immediately, or store them in a ziplock bag in the freezer. A layer of frost will form on the outside of the stored ice cubes, so when you’re ready to use them, let the ice cubes come to temperature on the countertop for a few moments so that the frost melts and they become clear again. (Don’t run them under warm water to remove the frost because at this point the ice will crack.)
 TipHero


