Valentine’s Day might be over, but we just couldn’t wait all the way until next year to show you these delightful, delicious brownies. After all, you don’t need a greeting card company to tell you when to show your love, do you? We didn’t think so! And what better way to share the love than with a baked good, especially these morsels that have a heart baked right into them? What’s more— that heart is made of CHEESECAKE! Check it out and just see if you can wait until next Valentine’s Day to make these treats!
Follow us on Pinterest >> Tip Hero
CHEESECAKE SWIRLED RED VELVET BROWNIES
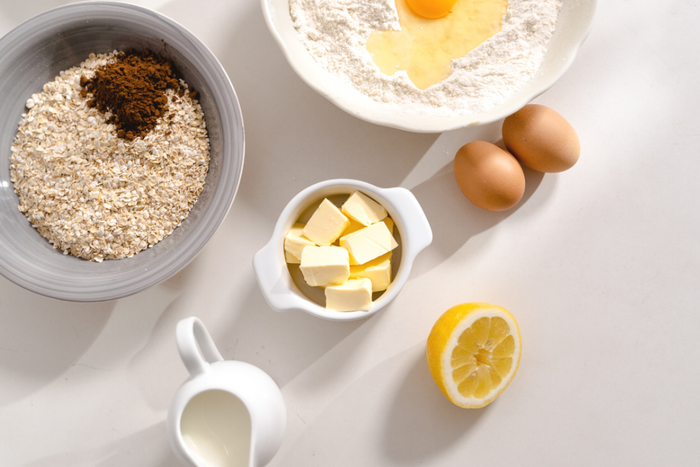
You’ll Need
– 2 large eggs
– 1/2 cup (113 1/2 grams) unsalted butter, melted
– 1 cup (200 grams) granulated sugar
– 2 teaspoons vanilla extract
– 1/4 cup (50 grams) unsweetened cocoa powder
– 1/8 teaspoon salt
– 1 teaspoon red gel food coloring
– 3/4 teaspoon white vinegar
– 3/4 cup (105 grams or 3.70 ounces) all-purpose flour
– 8 ounces (225 grams) cream cheese, softened
– 1/4 cup (50 grams) granulated sugar
– 1 egg yolk
– Pinch of salt
How To
- Preheat the oven to 350 degrees Fahrenheit (180 degrees Celsius). Line an 8-inch-by-8-inch baking pan with foil and spray with nonstick spray. Set aside.
- Pour the melted butter into a large bowl. Stir in the 1 cup of sugar, vanilla extract, cocoa powder and salt until blended.
- Add the food coloring and vinegar, then stir in the eggs. Fold in the flour – it can help to sift first, to cut down on lumps – and stir until completely incorporated. Don’t over-mix the batter!
- Pour the brownie batter into the prepared baking pan.
- With a hand-held mixer on medium-high speed, beat the softened cream cheese, 1/4 cup sugar, egg yolk and pinch of salt in a medium bowl for about 1 minute, until completely smooth and fluffy.
- Pipe or spoon the cream cheese mixture on top of the prepared brownie batter. If you want, you can run a toothpick through the cream cheese in the shape of a heart, or you can just do a swirl pattern. The red-and-white contrast makes either one look pretty!
- Bake the brownies for 28 to 30 minutes, until a toothpick inserted in the middle comes out clean. Allow the brownies to cool completely before cutting into squares.
Tips
- We all know how to measure our dry ingredients when making baked goods – by spooning into a measuring cup – but we actually recommend WEIGHING the flour in this recipe. A good food scale is fairly inexpensive and comes in handy when baking. Too much flour would result in dry, crumbly and cakey brownies.
- Gel food coloring is a thicker, more concentrated form than liquid food coloring, so if you use a liquid color, you’ll need to add more than the teaspoon called for here.
Recipe adapted from Sally’s Baking Addiction


