No-Bake Chocolate Lasagna
When my husband and I made plans to visit with his family, I knew I wanted to come bearing some sort of delicious treat to share. Only one problem— it was hot outside. Too hot. So hot the idea of turning on my oven to bake made me really, really sad. That sadness didn’t last long, though, because I quickly remembered all the no-bake recipes we’ve found and shared here on Tip Hero, and there was one in particular I wanted to try: No-Bake Chocolate Lasagna! The recipe, which originally came to us from I Heart Naptime, seemed like the perfect choice, and as you’ll see as you read on, it was perfectly easy to make— and more importantly, perfectly tasty!
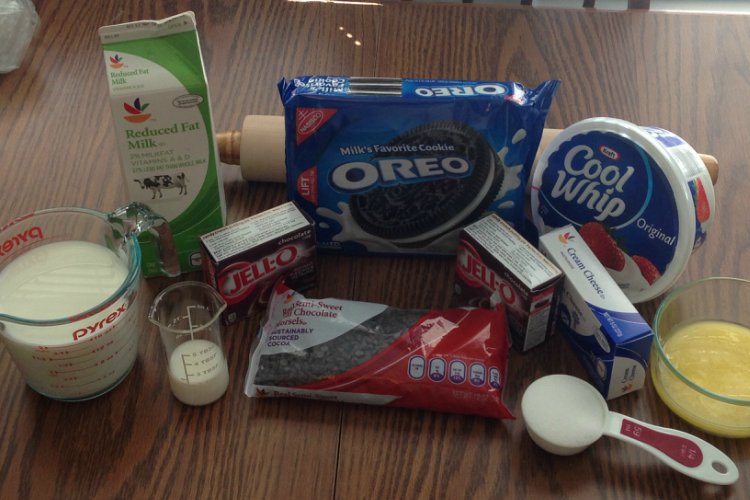
What I Used: The Ingredients
– 36 regular Oreos (about 1 package)
– 6 tablespoons butter, melted
– One 8-ounce package cream cheese, softened
– 1/4 cup sugar
– 2 tablespoons cold milk
– One 12-ounce container Cool Whip, divided
– Two 3.9-ounce packages chocolate instant pudding
– 3 1/4 cups cold milk
– 1 cup mini chocolate chips
A note— What is up with all of these recipes lately calling for a 12-ounce container of Cool Whip? My local grocery store only carries an 8-ounce container and a 16-ounce container, so I’m not sure what magical land the 12-ounce containers occupy. For this recipe, I just used a standard 8-ounce container of Cool Whip, so if you, too, are baffled by the call for 12 ounces, fear not! It worked just great with eight!
What I Did: The Directions
- Butter a 9-inch-by-13-inch dish and set aside.
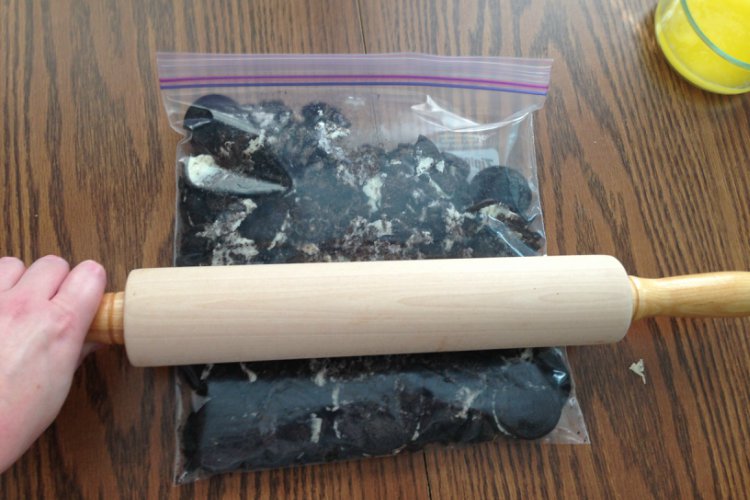
- Place the Oreos in a zip-top bag and crush with a rolling pin. Pour the melted butter into the bag and mix until well-combined.
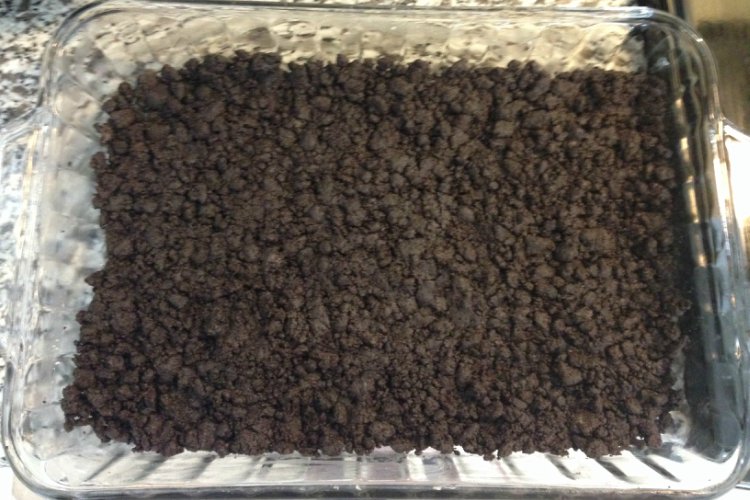
Press the Oreo-butter mixture into the bottom of the dish, then place in the refrigerator for 5 minutes.
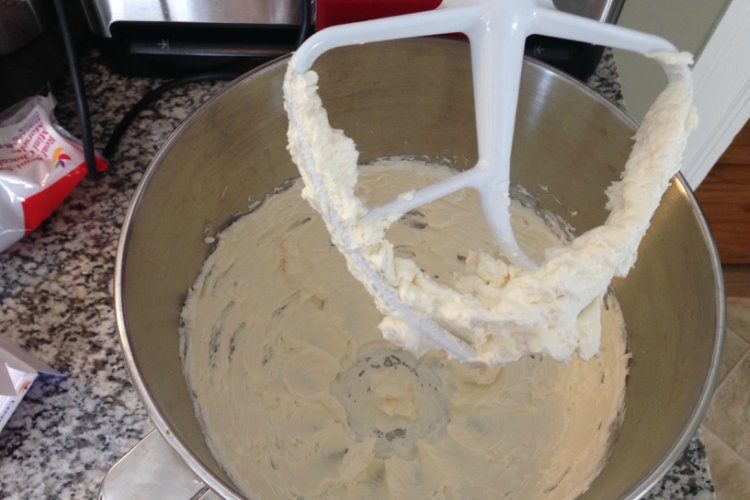
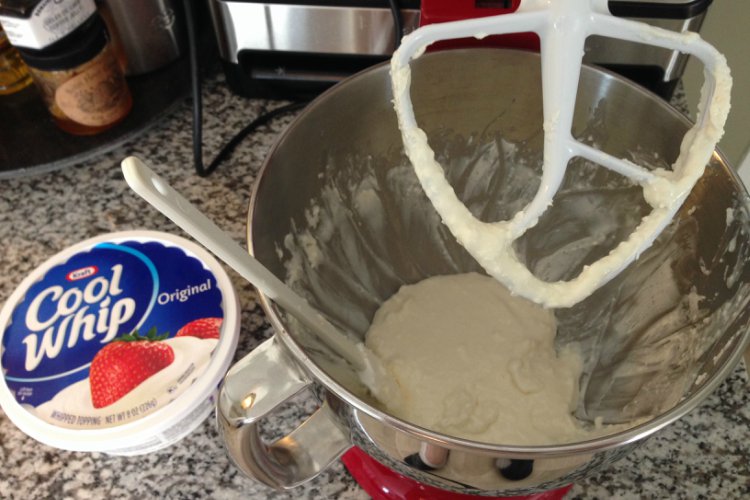
I really wish I’d used my food processor for this step instead of the bag-and-rolling-pin method, and when I try this recipe again, that’s definitely what I’m going to do. The rolling pin is a good option for when you don’t own a food processor, but I think using one would have allowed me a more consistent mixture that would have been a little easier to press into the bottom of the pan— I had a little trouble convincing it to stay there! Hint: spray your hands with nonstick cooking spray before using them to press the mixture down into the pan. - In a medium-sized bowl, whip the cream cheese until fluffy.
Add the 2 tablespoons of cold milk and the sugar, and mix until combined.
Stir in 1 cup of the Cool Whip.
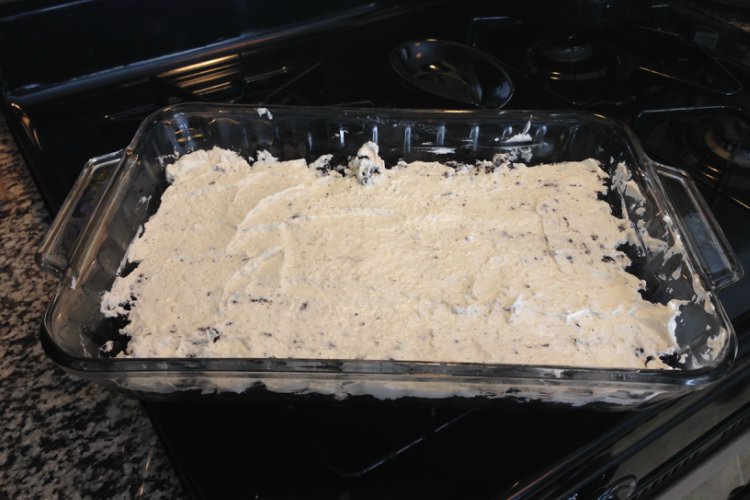
Spread the mixture lightly over the crust, and place back in the fridge for another 5 minutes.
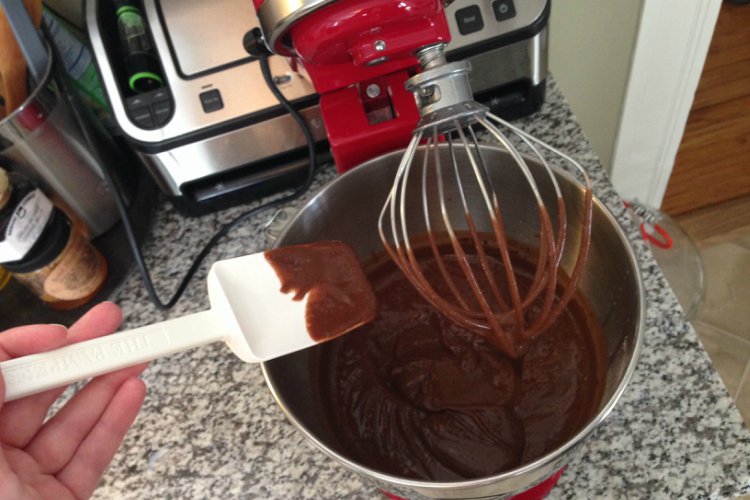
The mixture comes together really easily! Spreading it over the Oreo layer was a little bit of a challenge – the crushed cookies didn’t want to stay put! – but it worked out well. I think if I had made the Oreo layer with a food processor, it would have been no problem at all! I’m also considering, for next time, leaving it in the fridge for an extra minute or so (7 or 8 minutes, instead of 5) in between layers to get them really set. Note that this layer will be a pretty thin one, which is good because the cream cheese adds a lot of richness to the treat. - In a separate bowl, combine the instant chocolate pudding mix and cold milk. Whisk together until thick.
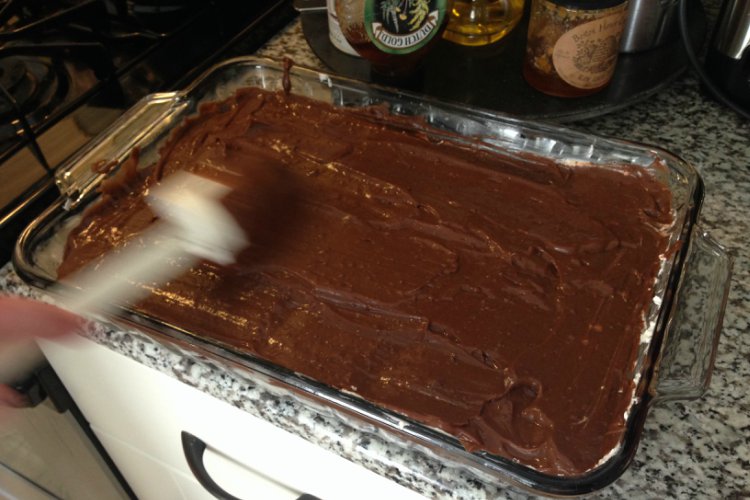
Spread over the top of the cream cheese layer. Place back in the fridge for another 5 to 10 minutes to allow pudding to set.
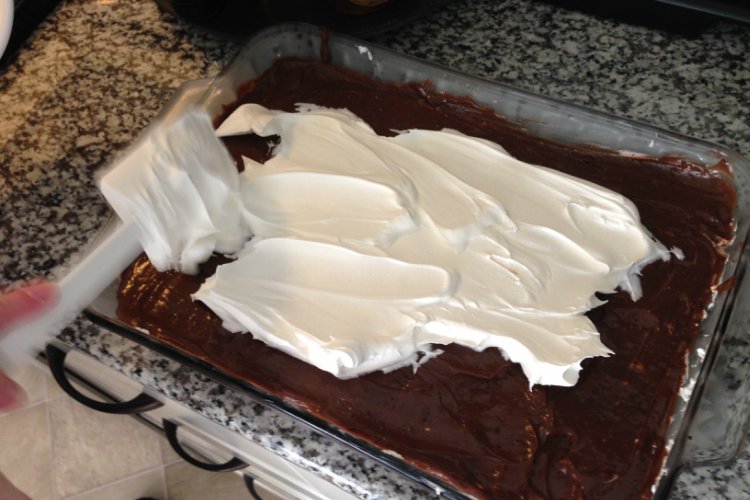
Easy! The pudding will form the thickest layer of this chocolate lasagna. I let mine set in the fridge for the full 10 minutes, and I think that was the right choice! - Once the pudding has set, spread the remaining Cool Whip over the chocolate pudding layer.
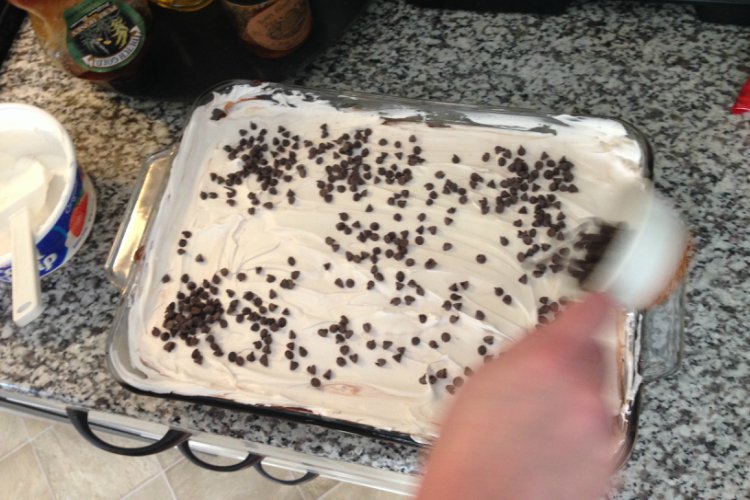
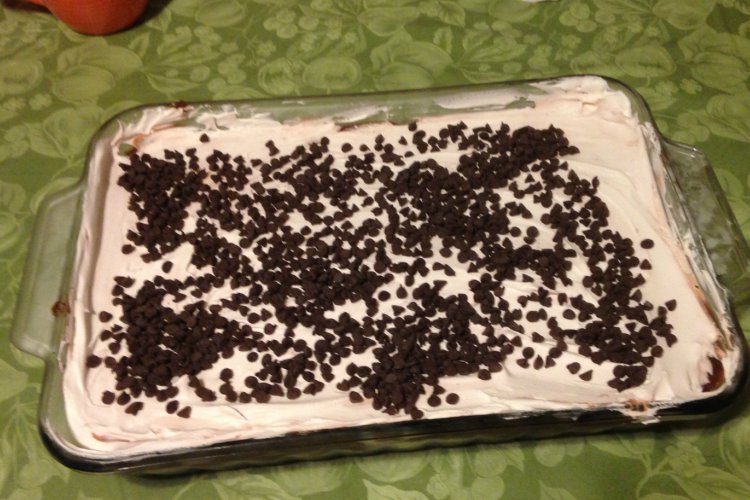
Top with the mini chocolate chips. Place in the fridge for 3 to 4 hours before serving.
Because I left the pudding in the refrigerator for the full 10 minutes before this step, the Cool Whip spread on easily, with minimal disturbance to the layers. (Plus, any mixing that happens just means tastiness, so don’t worry too much if it does!) Since the Cool Whip came from an 8-ounce container – seriously, if you live anywhere where it comes in 12-ounces, please tell me where to get it! – this top layer is also pretty thin, but with a full cup of chocolate chips on top it becomes quite the rich topper! Three or four hours is definitely sufficient time for it to set. I even momentarily interrupted those hours to transport the dish (in an insulated travel container) to our dinner location, and it still turned out great!
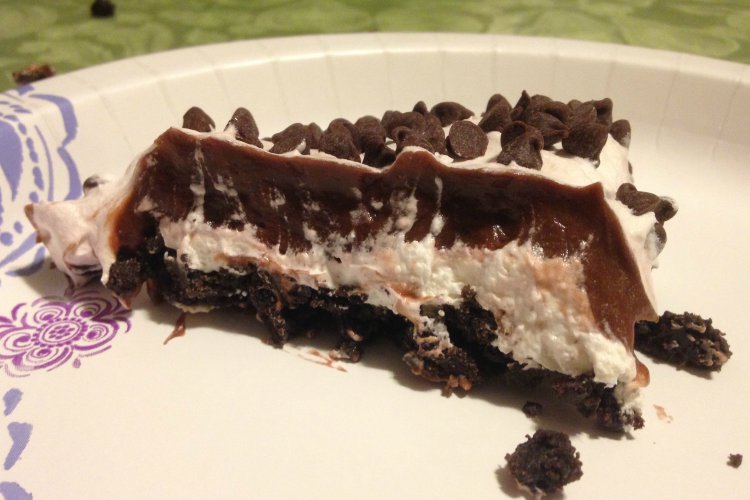
Guys, this dessert is SO GOOD! It was a big hit with my family, and according to them, the name “chocolate lasagna” doesn’t do it justice. Depending on your palate, it can taste quite rich, but I have it on good authority from a pretty picky eater that it’s still delicious— just cut smaller pieces and make it last even longer! The recipe – get your printable copy over on I Heart Naptime – is pretty perfect as is. The only thing I would recommend is using a food processor for the first Oreo layer, if you have it. Otherwise, get mixing, get layering, and get to enjoying this awesome summer treat!


